One thing that I am learning to comfortable with are the imperfections of experiments. I was able to accomplish some things that were important to this specific topic, while there are other issues that I still I need to learn how to correct for. I learned the basic foundations of how to utilize XPresso in Cinema 4D to create basic expressions that can control objects and attributes. I also used an HDRI for the first time, which had limited success. I need to fine-tune this experiment to reduce all of the grain and noise in the video, but I am excited for the small accomplishments that I was able to work through with this topic.
CINEMA 4D | Week 05 - Mograph Madness

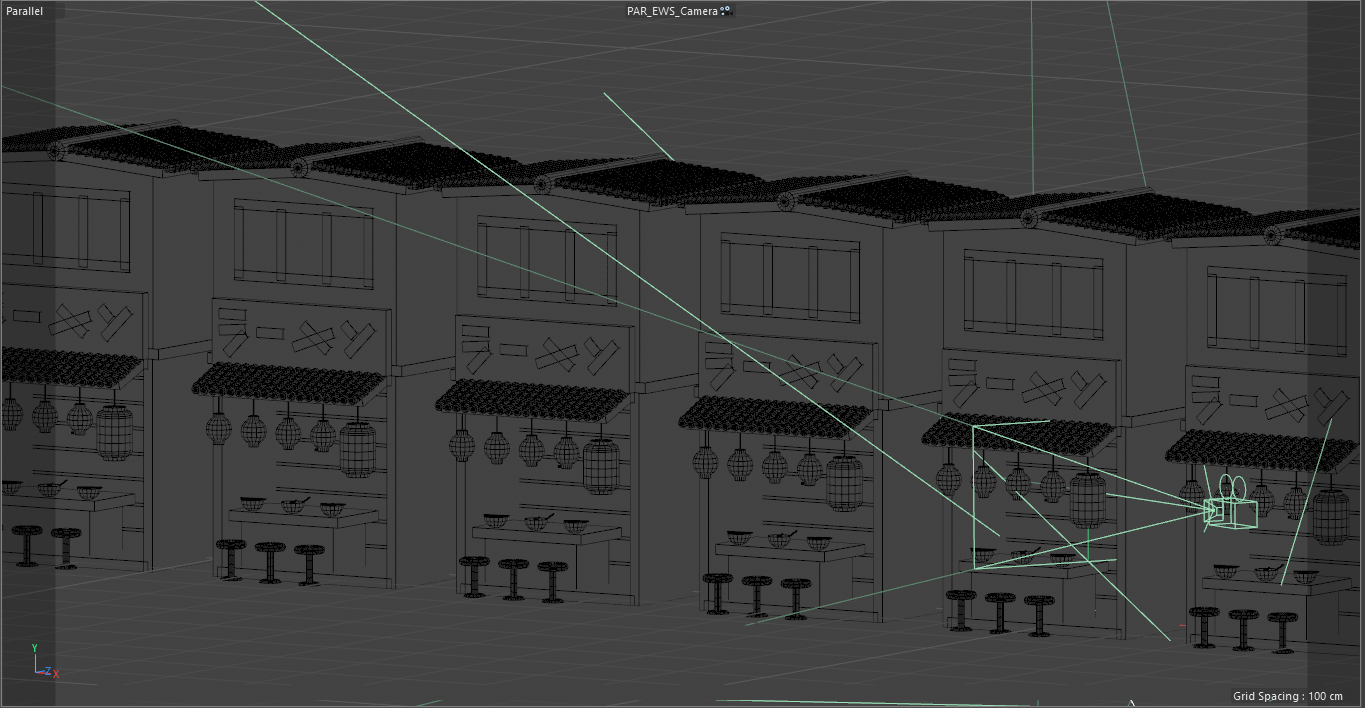
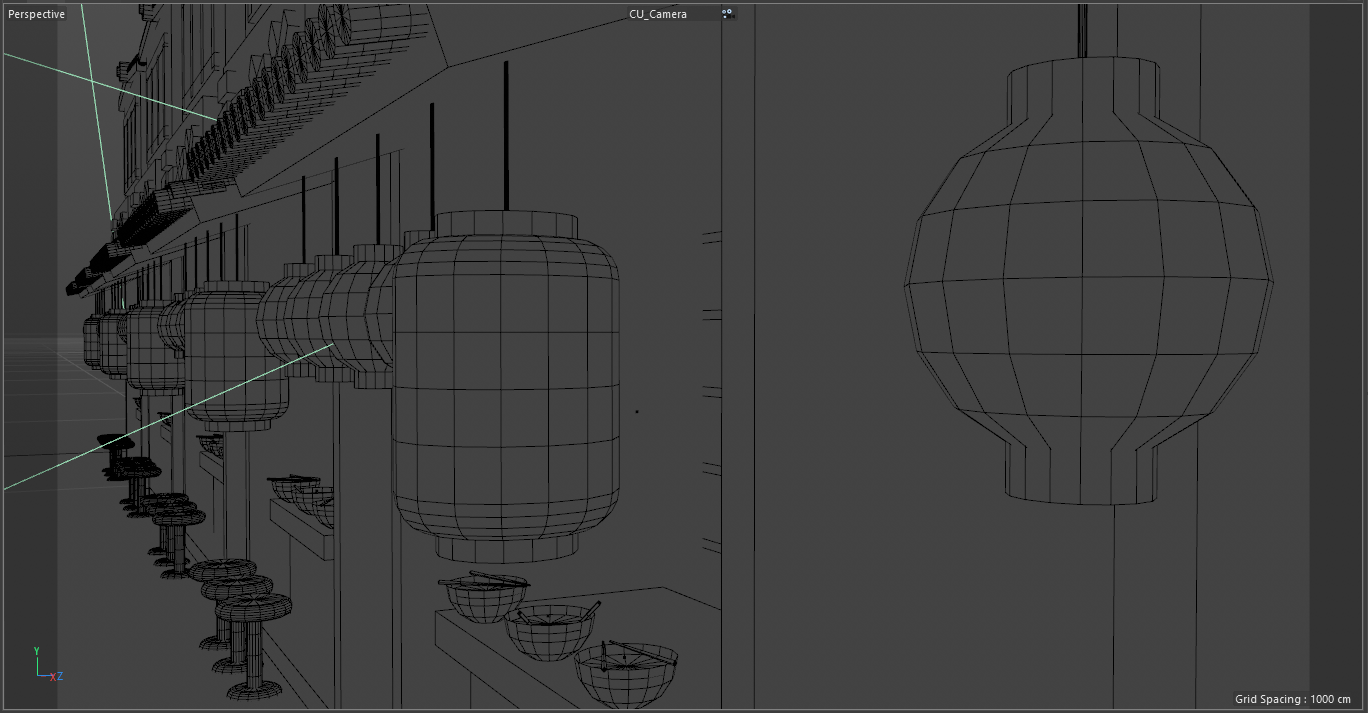
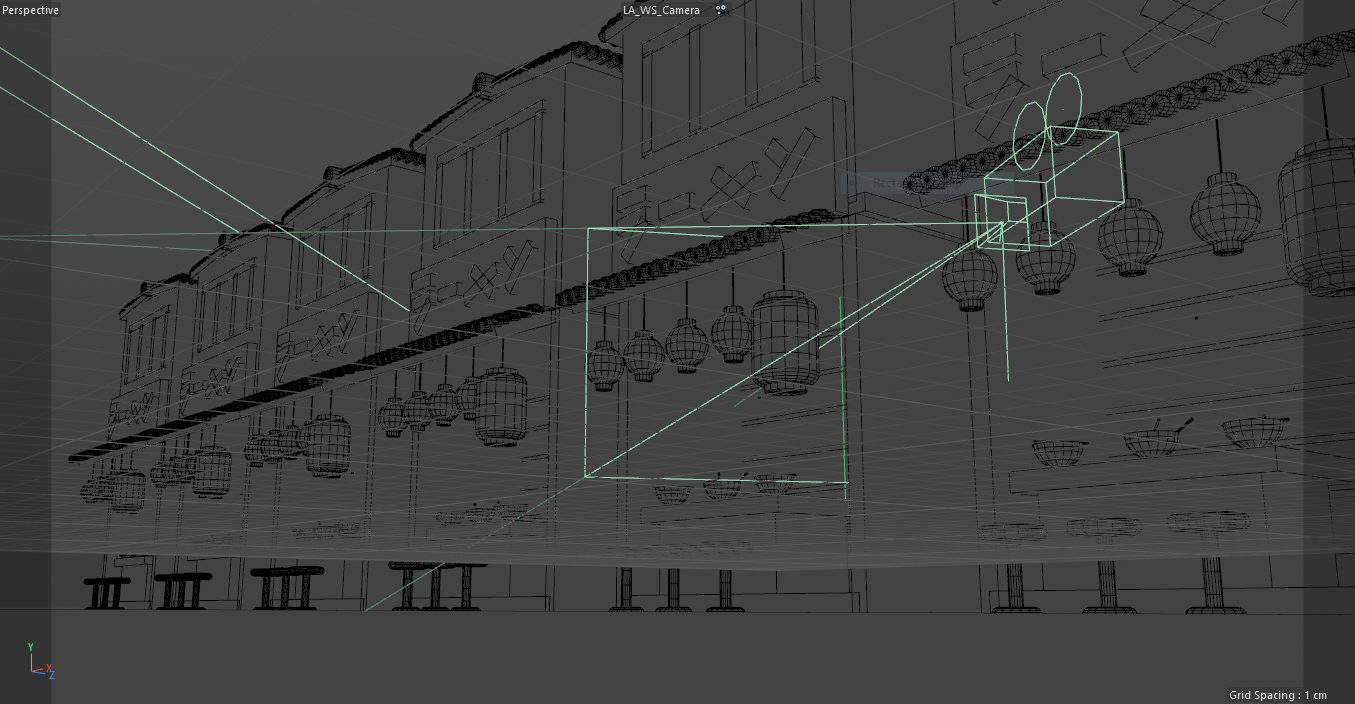
In the last week, we focused on the Mograph tools inside of Cinema 4D which included the cloner and effectors to create repeated geometry with variation and random effectors. We also learned how to use fields and generators to create easier techniques for animations. I utilized fields to create an organic assembly animation of the city. It was an interesting technique that will have wide-ranging applications for future explorations.
CINEMA 4D | Week 04 - Animation & Motion
This was a very challenging week in my Cinema 4D journey. This week we dived into the basics animation in Cinema 4D and we started where everyone starts with keyframing objects in 3D space. We used this mouse trap setup as the assignment to animate. We had to animate the ball coming down the tubes, hitting the shoe swing, which would hit the hammer, which would land on the see-saw, our QBert character would go flying in the air, bouncing on the spring, landing on the button, which would trigger the lights and finally release the cage.
I approached this assignment like I would approach any complex problem and broke it down into smaller pieces and worked through each element of the assignment. First I keyframed the ball rolling through tubes, which was a simple series of keyframes on the positional elements of the object. Then we looked the keyframing the rotation of the shoe swing and hammer, aligning those timings to when the ball interacts with the shoe. In order to make QBert launch into the air, we duplicated the character and grouped it with the see-saw and made it visible til the apex of the see-saw motion. At this point, we cut to our “Flying QBert” where we keyframed all of the positional and rotational keyframes for him to do his jumps and flips in the air. We ended with simple keyframes on the spring, button, lights, and cage to finish the scene.
The final assignment for the week involved a new method of animating which involved creating Splines as motion paths and rail paths. We used the “Attach to Spline” tag to pin an object to Spline that we created for the path of our airplane. We also looked animation tags and deformers that can automate and generate specific types of motion. In this project we used the vibrate tag to create the floating islands, the wind deformer to make the flags wave in the air, a displacer deformer on the clouds, and an emitter to create the smoke puffs.
One of the things that I experimented with was attaching cameras to the motion path to create a tracking shot of the plane. In this assignment, one of the camera angles we used was attached to the motion path ahead of the plane and would lead the plane through the course achieving a kind of Top Gun “dog fight” shot. We also added a target tag to one of the cameras so that it could follow the plane through the course, which allowed us to get some interesting camera motion without any keyframes.
One of the things that I found incredibly interesting was thinking about how much dynamic motion I can create without creating any keyframes and just allowing certain tags and deformers do the majority of the work and then I can simply keyframe the big pieces for cleaner, smoother motion.


CINEMA 4D | Sub-Polygon Displacement Experiments


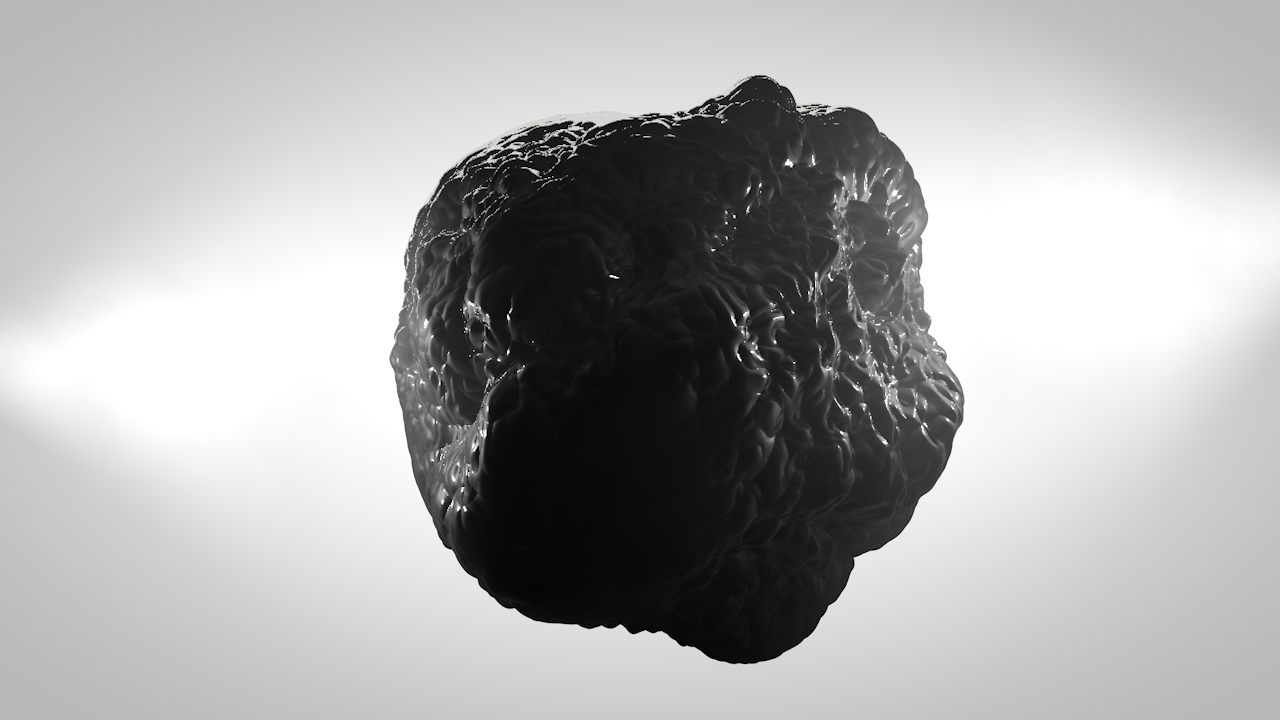
I began exploring other areas of Cinema 4D outside of my normal curriculum and today’s experiment was in Sub-Polygon Displacement. The idea is using bitmaps to physically displace polygon objects. There are some really interesting abstract forms that you can create and I excited to see where I can take this technique.
CINEMA 4D | Week 03 - Lighting and Textures


I am continually progressing through Cinema 4D, this week we focused in on lighting and texturing. We started off by looking at lighting concepts and a lot of it is not dissimilar from real-world lighting. One of the things that I continually had to ask myself is what is the subject, what is my focus, what am I trying to convey. It’s been much more difficult to light in this space because I find myself diving much deeper into the psychology of the lights and the role of each light in my scene. Normally when I shoot footage in the physical world, I find myself responding to the light, making composition decisions based on the light that I have access to, and it is a completely new experience to have an infinite number of lights at my disposal.

Next we began to look at textures and how to start to add realistic textures to objects. We took a deep dive into the reflectance of objects. We looked at many of the ways that we can control the amount of reflectance and transparency in an object to create realistic textures for our models. In this assignment we were asked to texture to some fruit, an aluminum can, sunglasses and a plastic straw and beach ball. As well as texturing some water droplets. It was very challenging to dissect each item for its physical attributes and try to replicate them in the materials tab. We also discussed different renderers and how global illumination can affect a scene.
CINEMA 4D | Week 02 - Modelling and Geometry
This week I continue my journey through Cinema 4D, and this week we focused on the topics of modelling and geometry. It was an incredibly difficult week of tutorials and assignments that stretched my skills and knowledge up to this point. We started off thinking about modelling with primitives and then we moved into talking about splines and utilizing extrudes, sweeps, booles, and spline masks to create dynamic objects.

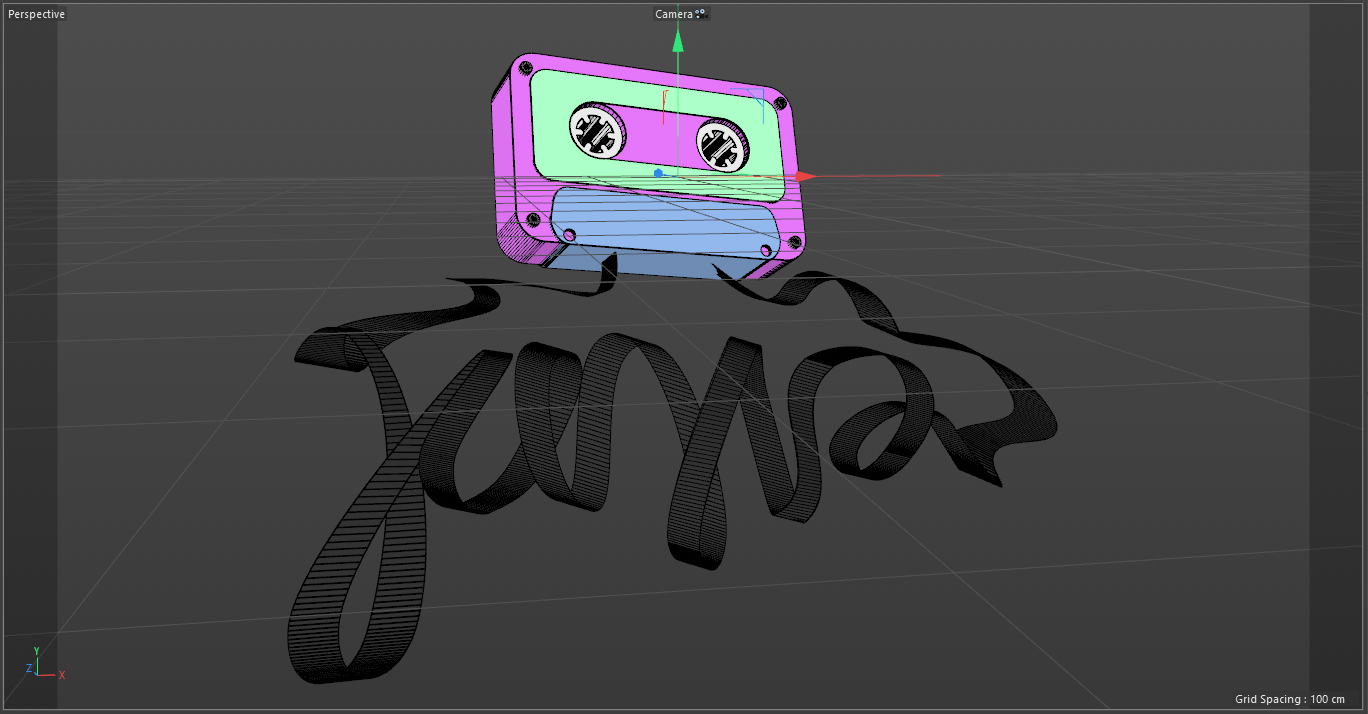
The first assignment was to create a cassette tape using splines and sweeps. We used spline masks to merge splines together to create dynamic shapes and then used the sweep tool to create the geometry. Then we took the process a step further and created the cursive writing using the same process while also manipulating the axis points in 3D space.

Our second assignment of the week was to create geometry by modelling objects. In this section we looked at using modelling tools like line cuts, loop cuts, extrudes and inner extrudes to create detailed models. The assignment was to create a Nintendo NES console using these modelling techniques. We also began to incorporate deformers and splines into the process to create specific elements of the model like the d-pad and cords.
CINEMA 4D | Week 01 - Orientation


I decided to be productive during this quarantine and learn a new skill, and I have decided on learning Cinema 4D (C4D). I have always admired 3D animators and motion artists and always wanted to add that skill set to my toolkit. My hope is to be able to learn fundamentals so that I can begin to add 3D elements to the work I currently do and hopefully in the future be able to experiment more and really stretch my horizons in the program.
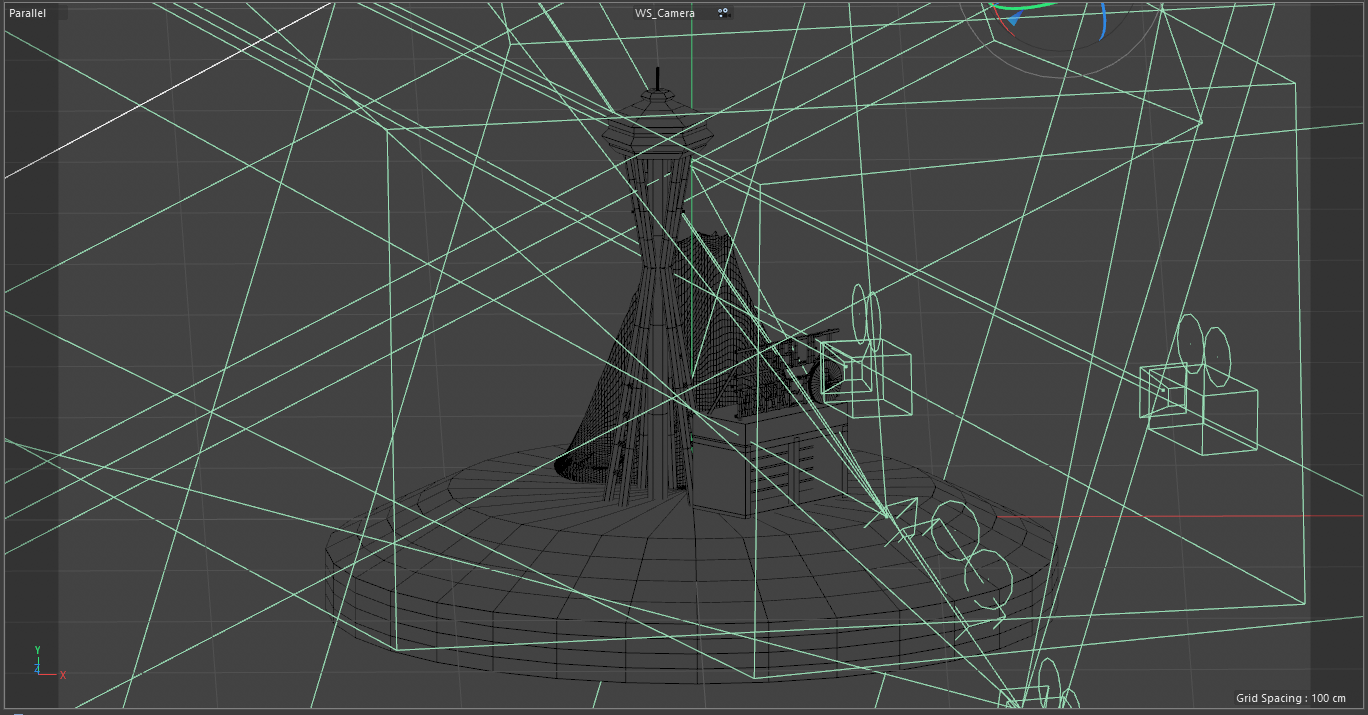
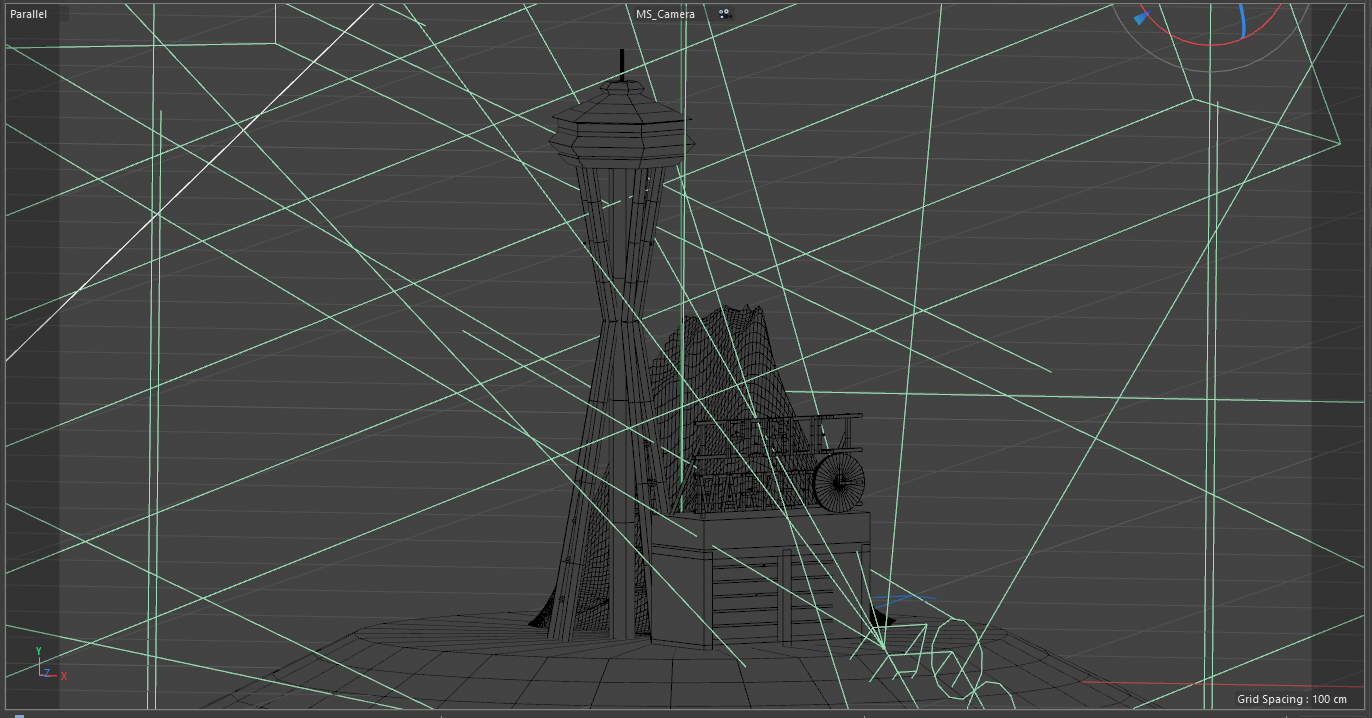
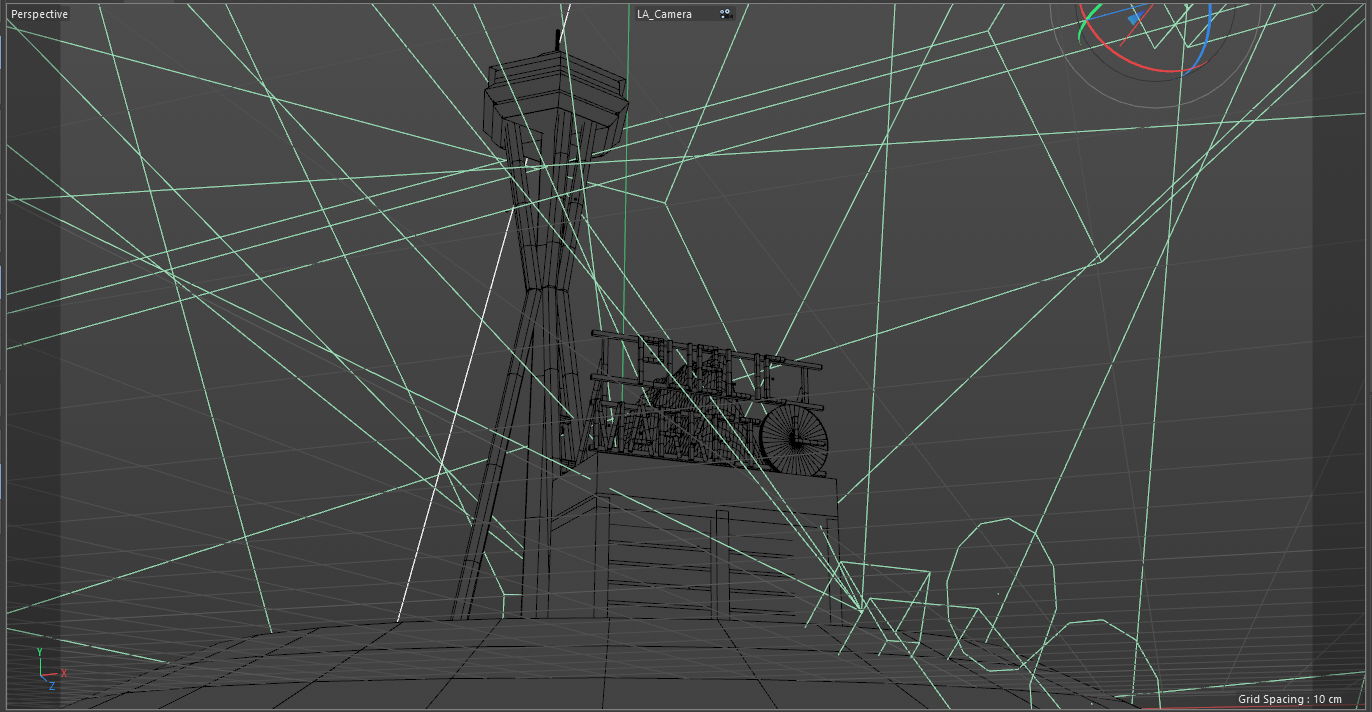
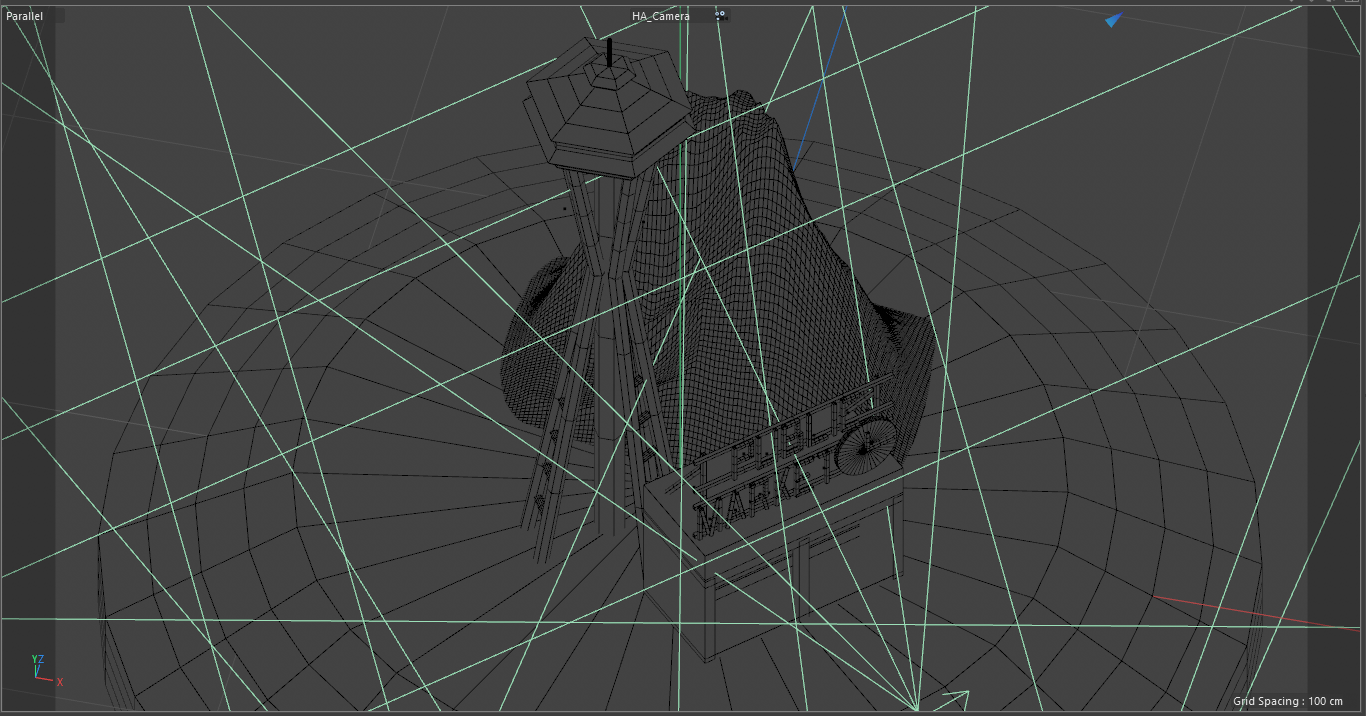
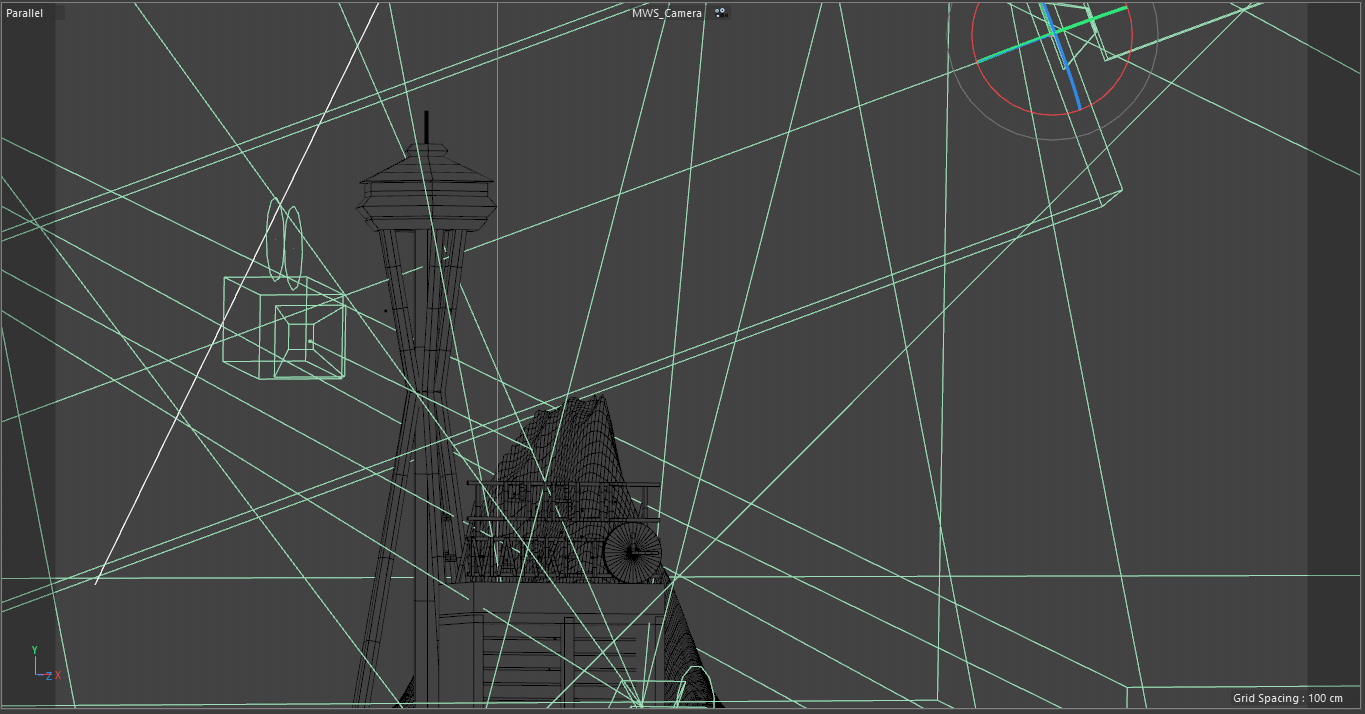
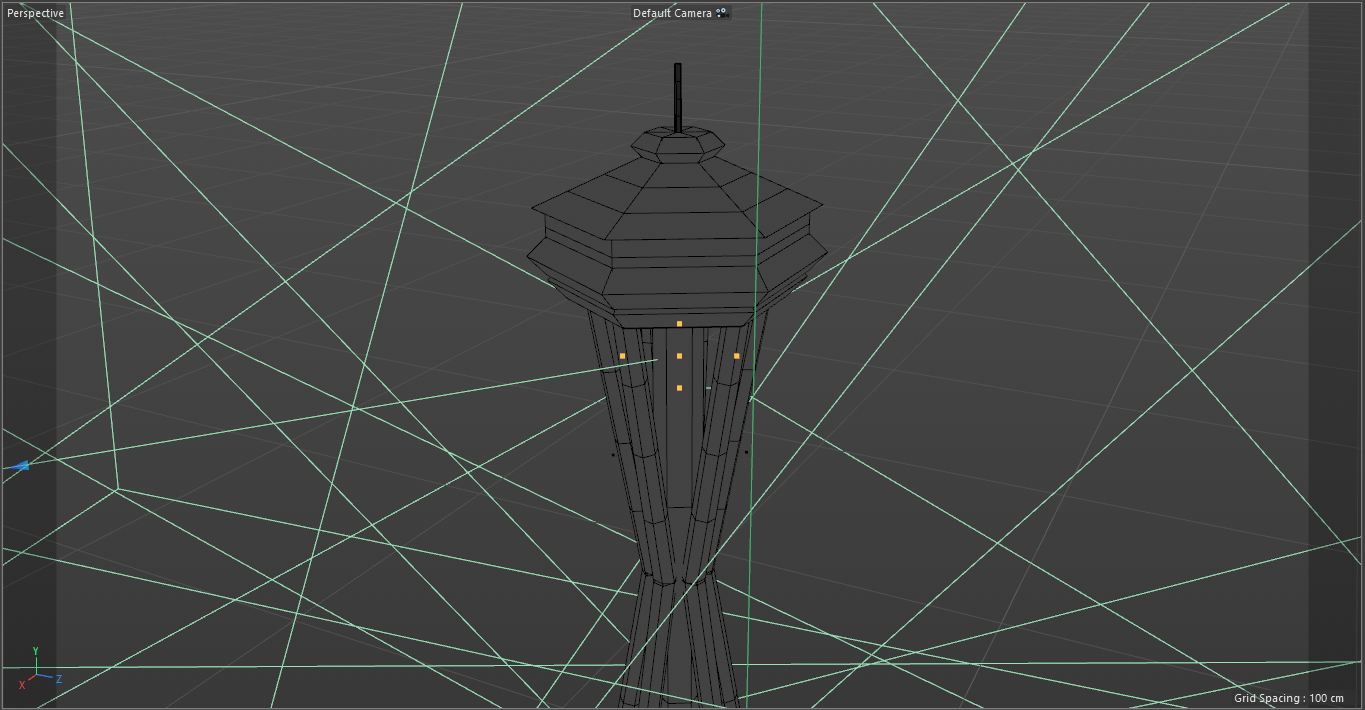
This first week was Orientation Week and the name of the game was primitive objects. Everything about this lesson was geared towards getting oriented to the basic controls of C4D and start to get a feel for modelling and using objects to start to build complex structures. The tutorial showed us how to build a small Ramen House and the assignment for the week was to model a scene representing “Our Favorite Place.” I decided to choose iconic Seattle landmarks and created a basic little scene.